
Installation of Vinyl Flooring for Our BTO
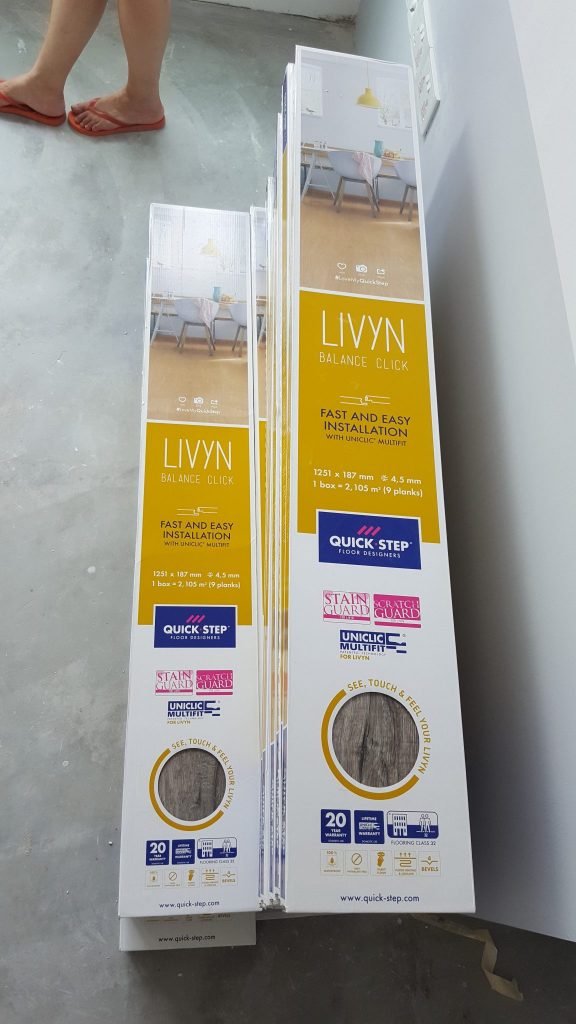
After our decision to use the Luxurious Resilient Flooring from FloorXpert throughout, we had to get into the installation of vinyl flooring for our BTO.
Selecting the vinyl flooring colours
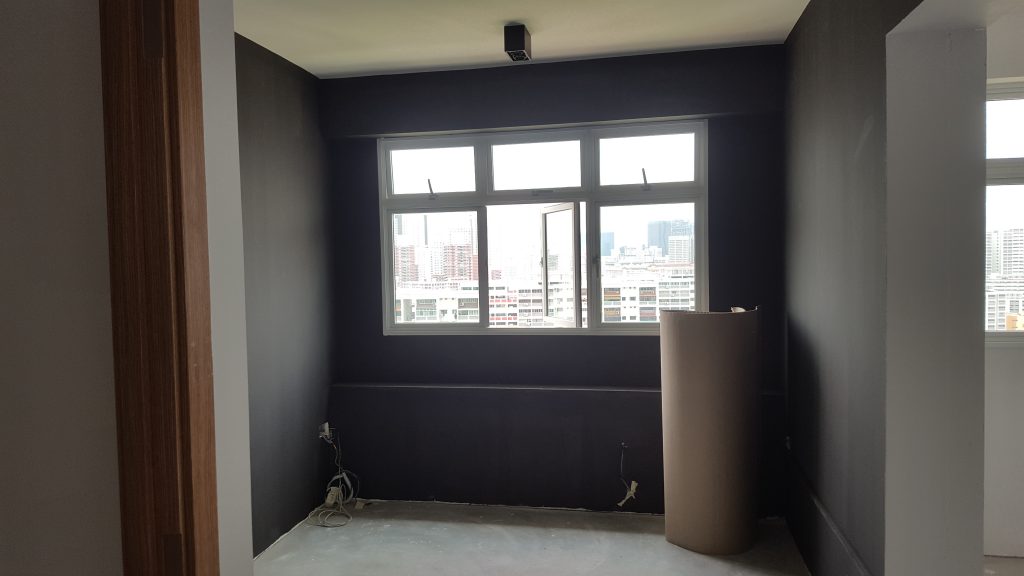
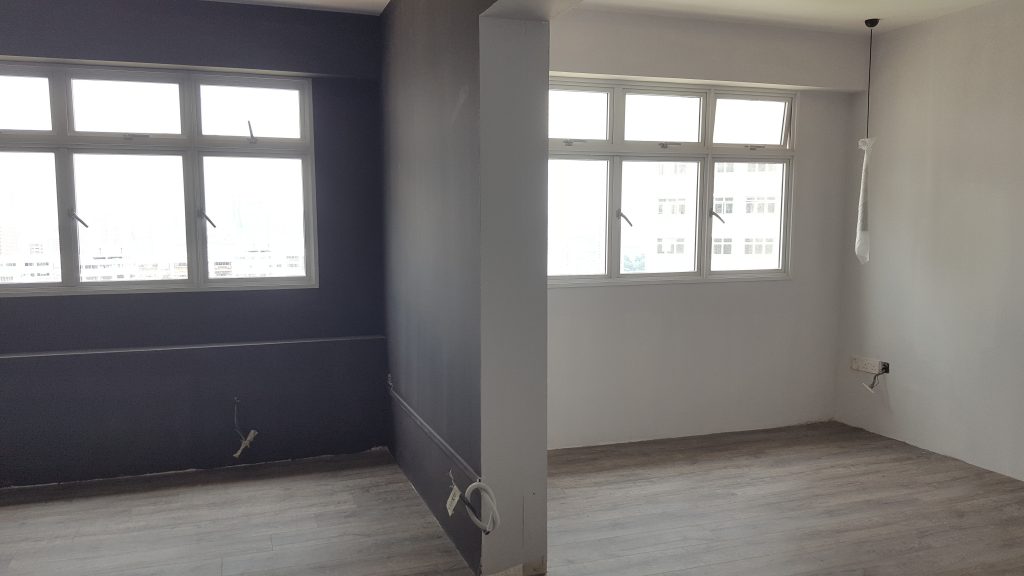
When it came to selecting the colours for the vinyl flooring, we left it to Shao Jie. We let him choose the colours when we met him face to face. He matched the colours with what we already chose for the wall paint, the kitchen carpentry colours, as well as the general design. There were some slight changes to the colour scheme, so that the living room floor would be light brown instead of gray. It made sense to us, because the brown would complement our carpentry and loose piece wooden furniture very well.
I thought his taste was good. The living room would be lighter in colour, and transit into a darker shade in the bedrooms. PQ only had a concern that the light colour would easily show the strands of hair we drop. Shao Jie and I thought that wasn’t a big deal. After all, we’re buying a robot vacuum cleaner!
Installation of vinyl flooring
Similarly, we left the installation of the vinyl flooring entirely in the hands of Jun Wei. He kept us updated on the progress, although there wasn’t really much to update in between because the whole process was really fast. If we don’t recall wrongly it was done within a day or two.
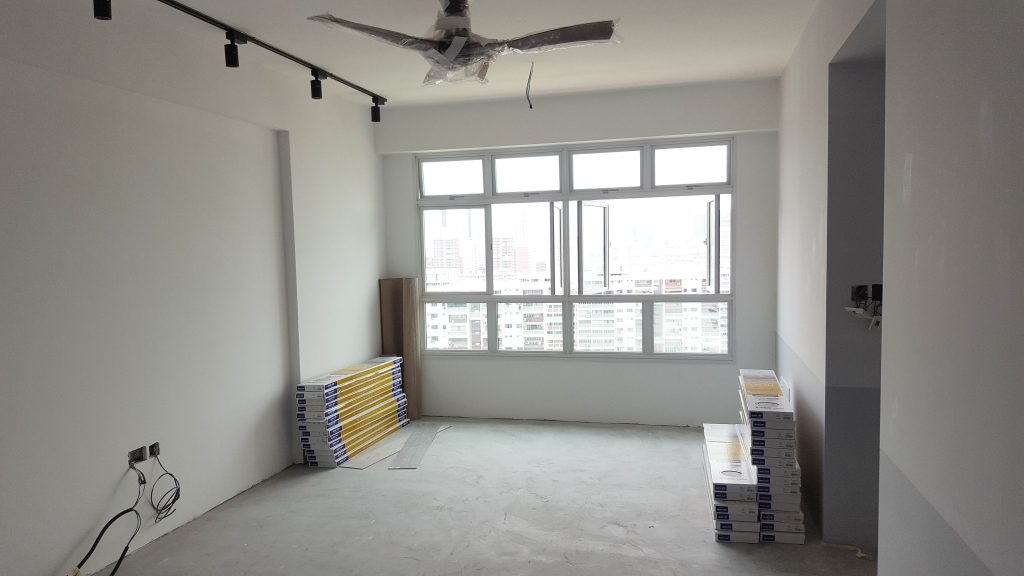
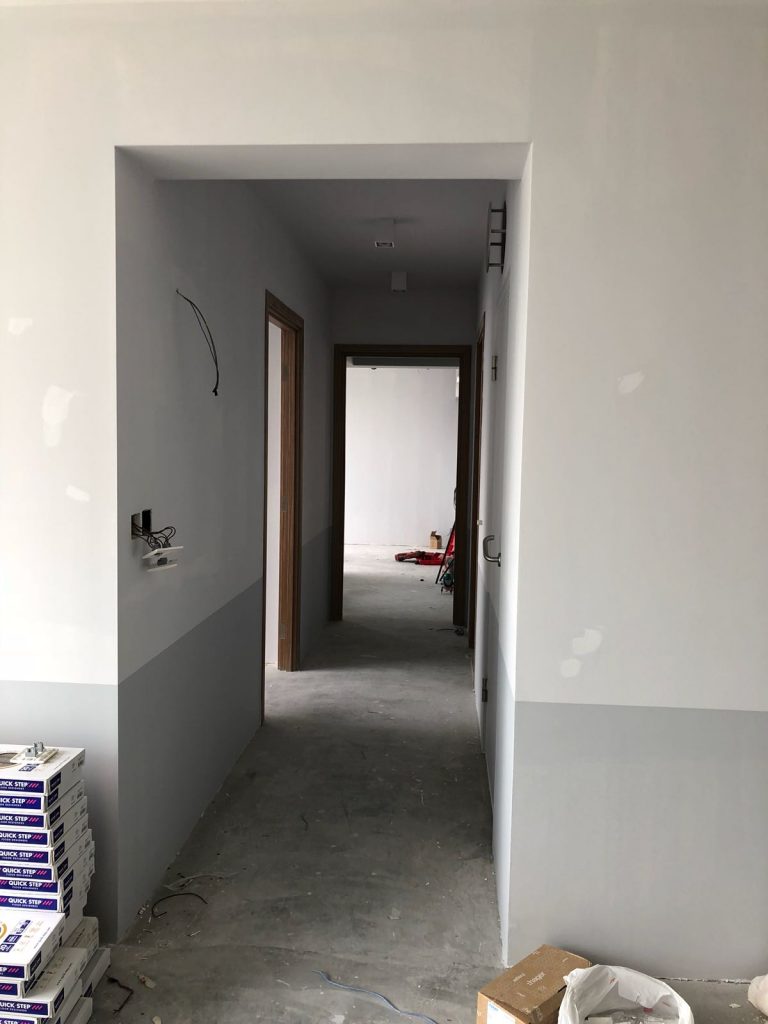
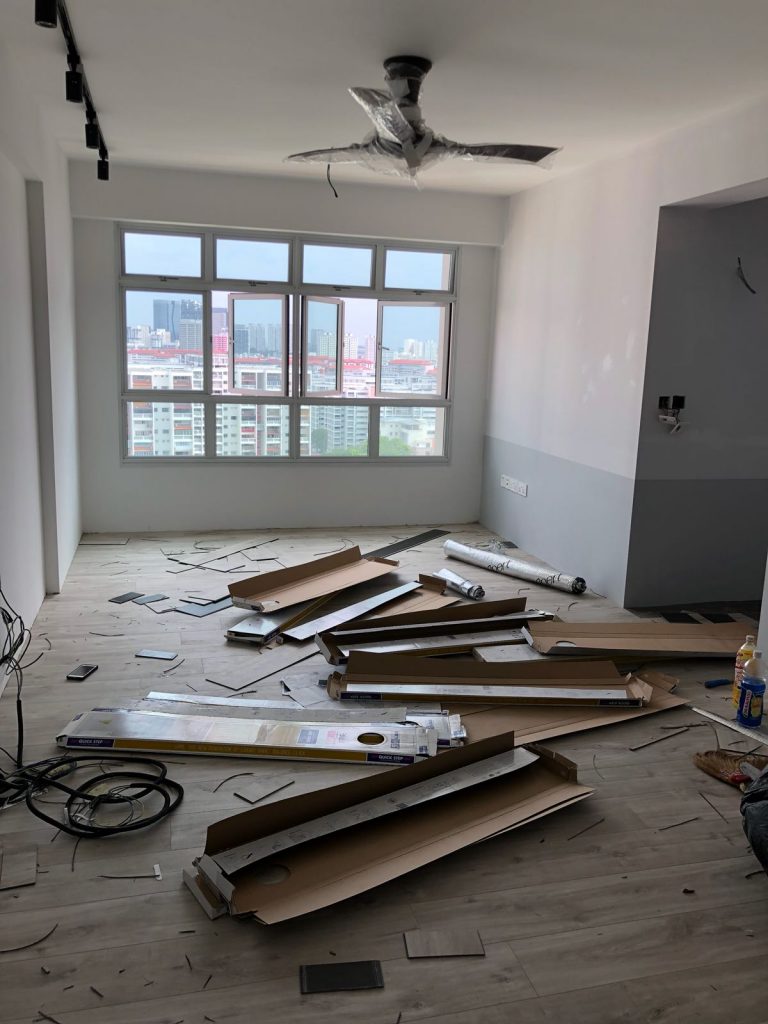
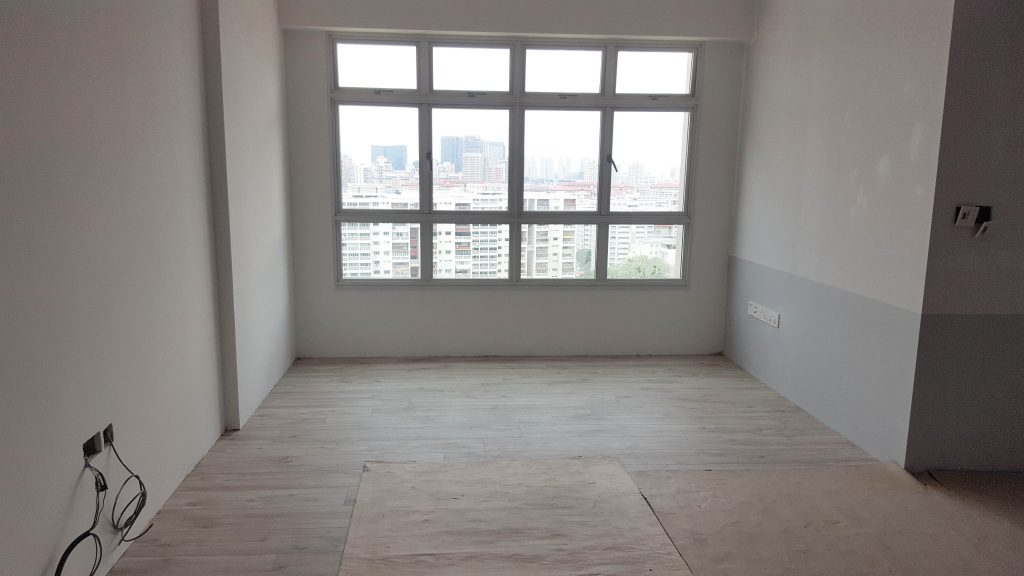
The last time we left off, we had cement flooring that had screeding completed. And this was how the house looked like:
Jun Wei updated us after they finished the installation. Installation went pretty easily from the looks of it.
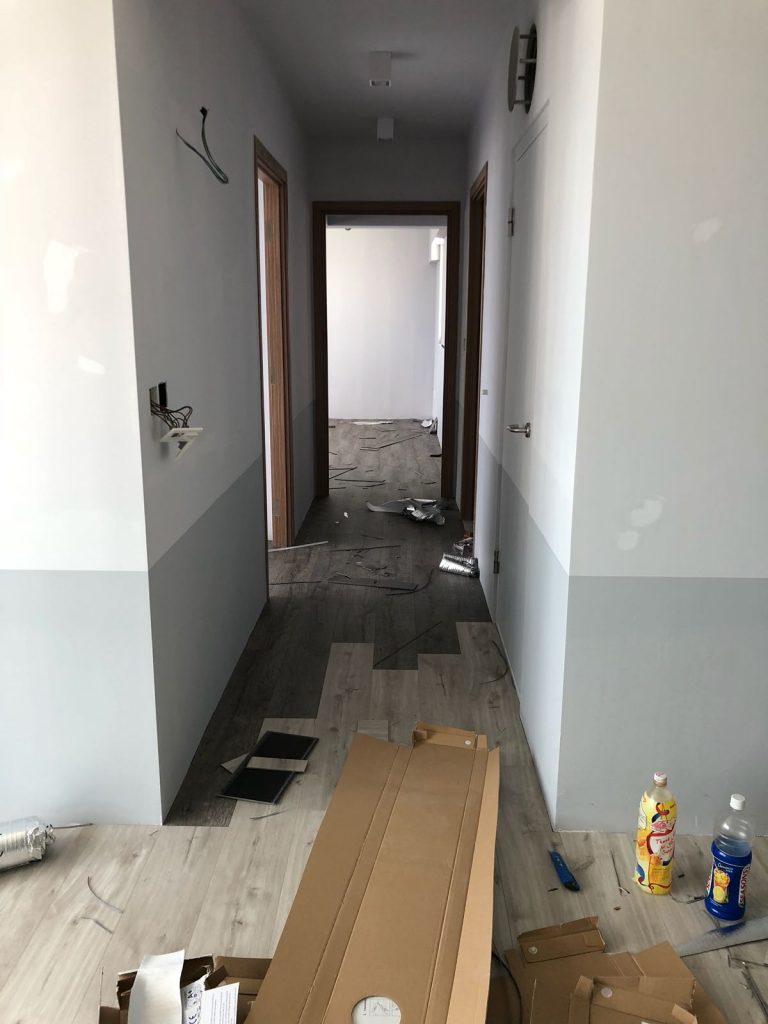
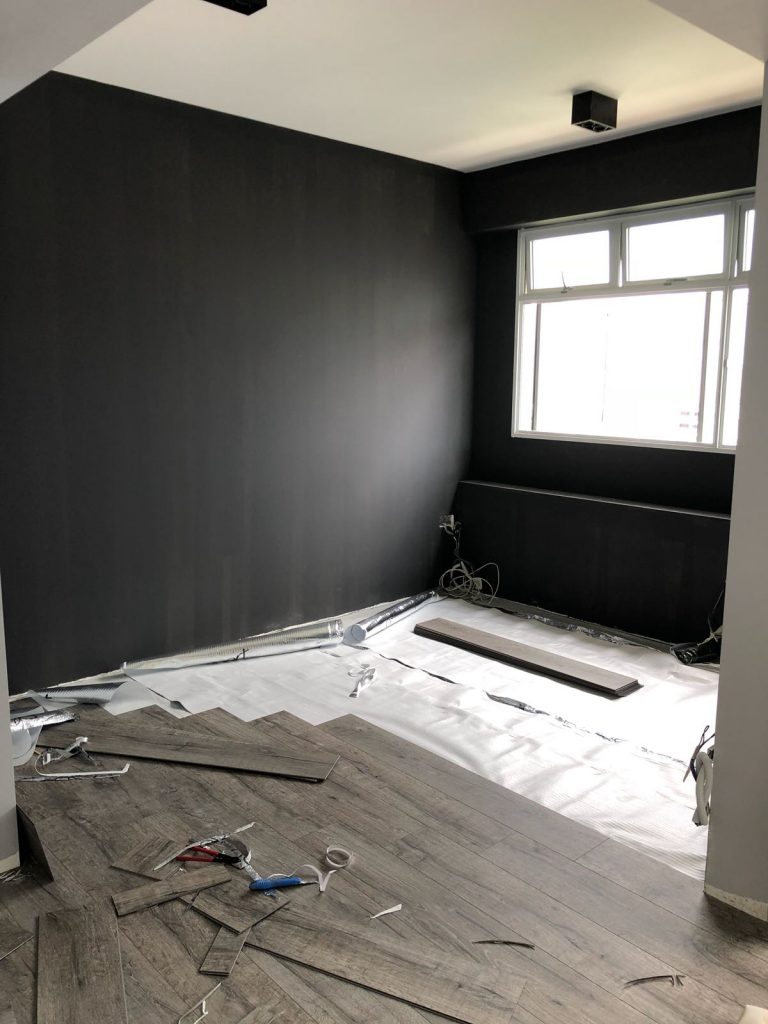
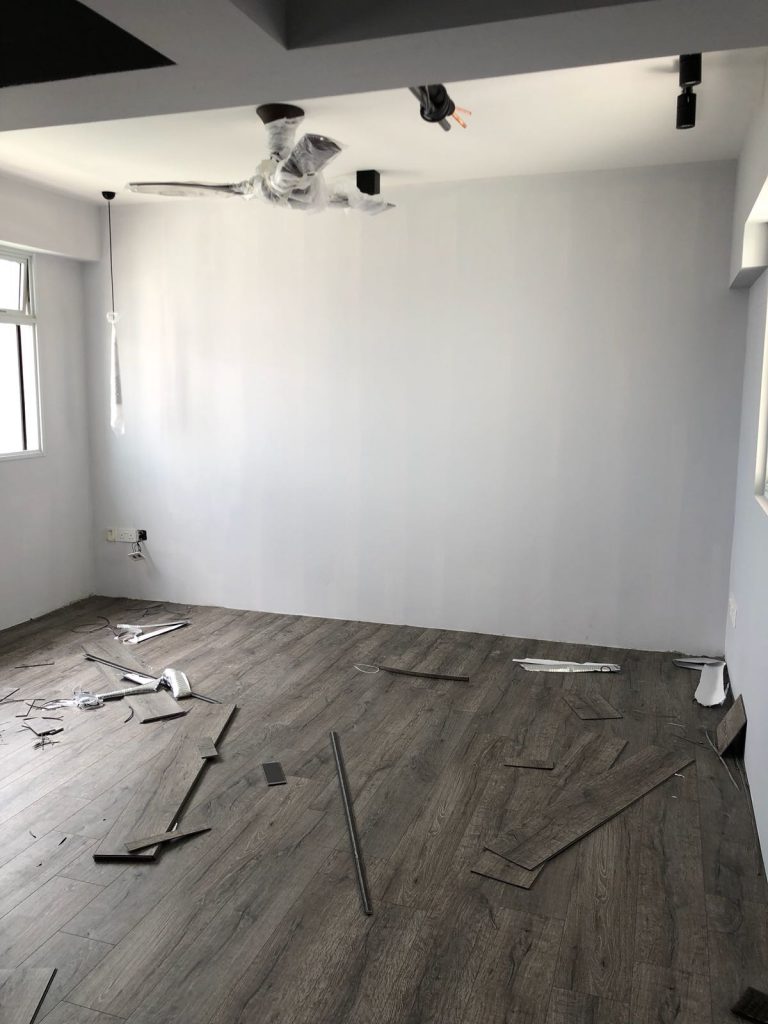
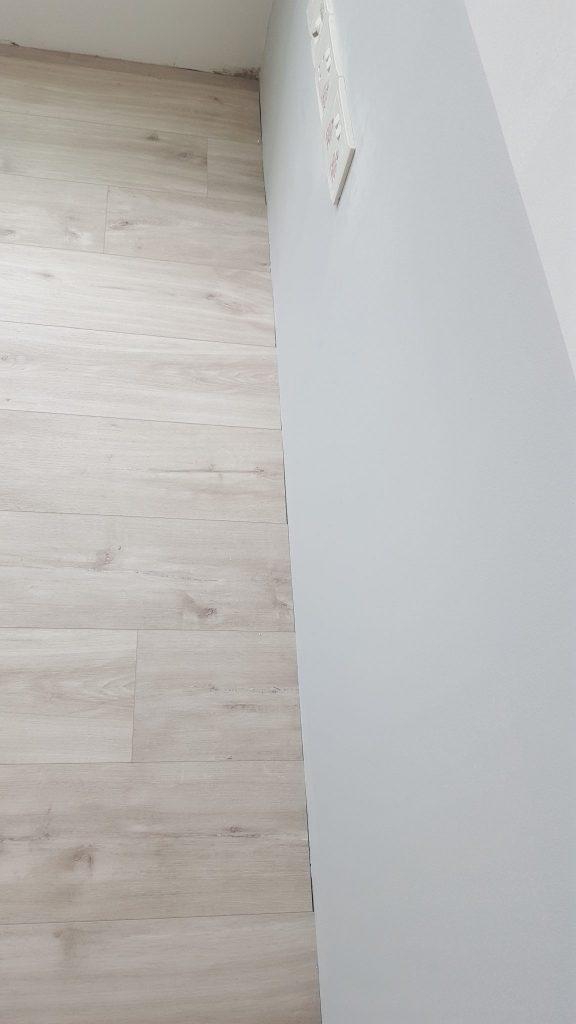
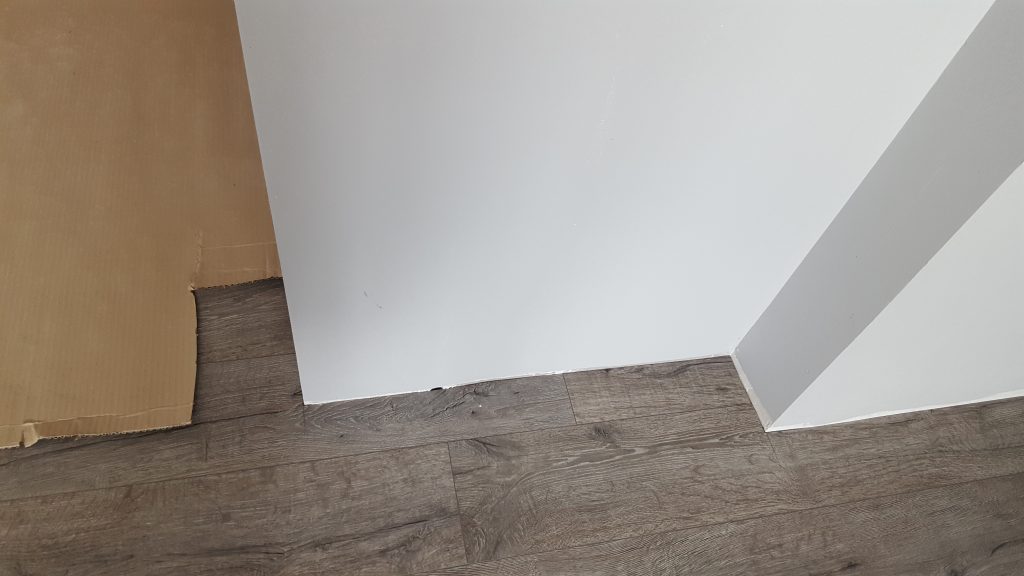
Installation completed
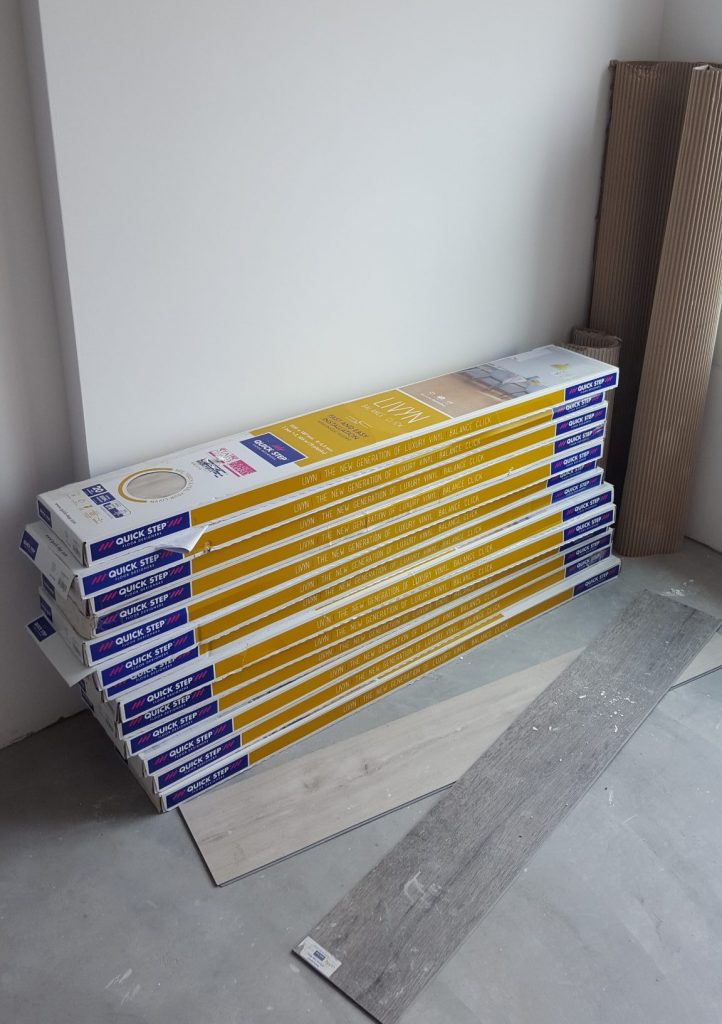
After the flooring was done we went to take a look. I thought it was great. PQ felt alright about it, because she had some reservations about the number of wood grains (those circular ‘eyes’). The sample didn’t have that much and she was fairly uncertain about the whole look. Ok, to be honest she didn’t like them very much. But in the end she was more assured when she realised that much of it would be covered by carpentry. And in any case it was something that all wood grain lookalike flooring had, it would be weird to ask for wood flooring but want to avoid the eyes.

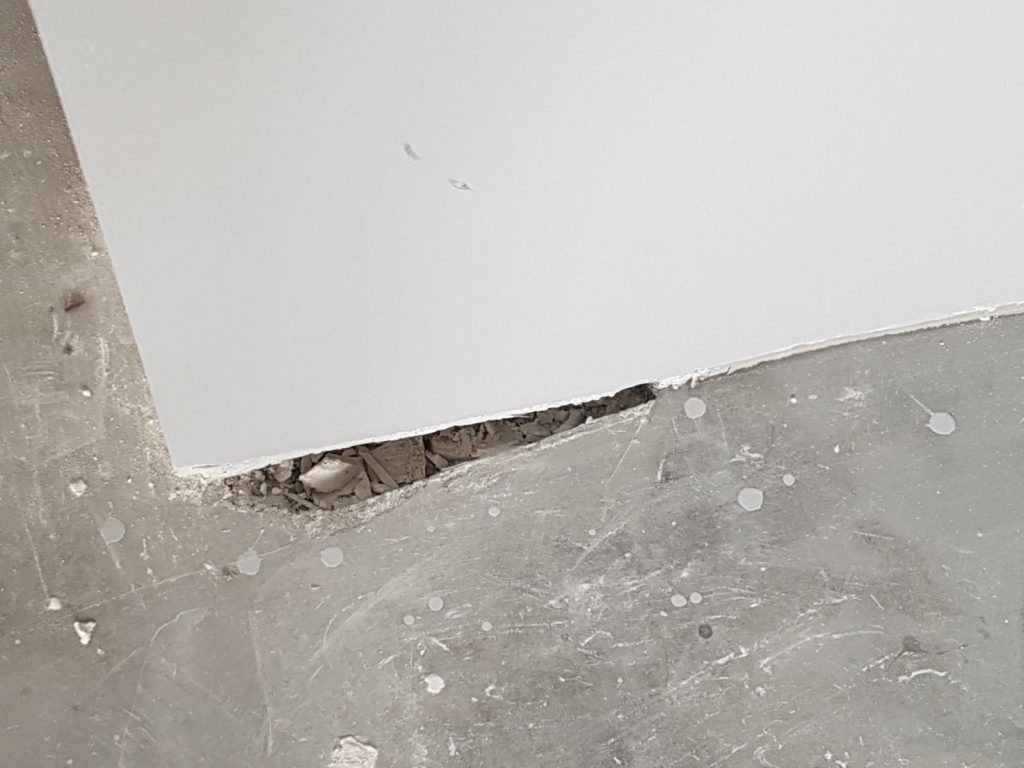
We also spotted a hole which was not yet filled up. The hole occurred because of the hacking. But I guess we were over zealous in looking for these. Jun Wei assured us that they would fill it before they installed the skirting.
Overall, we were very happy with the vinyl flooring selection and installation. It couldn’t have gone any better.
If you’re keen, do check out our Floor Xpert LURF review, which has been good so far.


Hi do you need to pay hdb extra to increase the height? because they only do 40mm
Yes we did, we paid around $800 more!
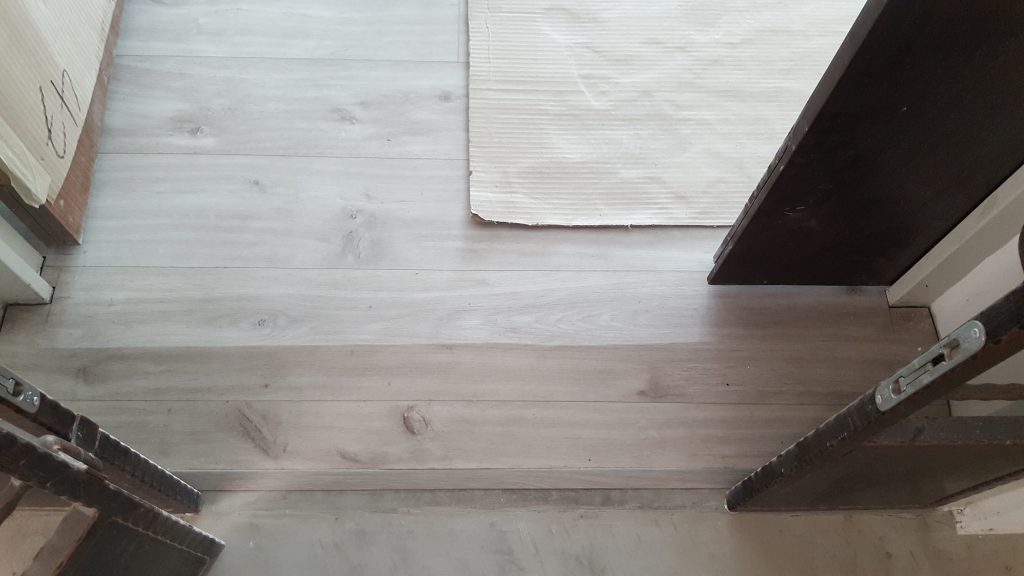
after the top up of how many mm? and was it leveled with the floor tiles?
Sorry! We left it to the ID to handle it, so we don’t know the exact measurements. But suffice to say after the top-up and after laying the vinyl cushioning and vinyl flooring on the cement, it’s level with the kitchen tiles.